Tarmac Driveway Installation: Step-by-Step Guide
Introduction: A well-constructed tarmac driveway can significantly enhance the appearance and value of your property. At Newport Pagnell Driveways & Patios, we pride ourselves on delivering top-quality tarmac driveways that stand the test of time. If you’re considering a tarmac driveway for your home, this step-by-step guide will provide a comprehensive overview of the installation process.
Step 1: Planning and Preparation
Assessment and Design: The first step involves thoroughly assessing your driveway area. This includes measuring the space, considering the layout, and deciding on the desired thickness of the tarmac. Proper planning ensures that the driveway will be functional and aesthetically pleasing.
Clearing the Area: Before construction begins, the area must be cleared of any existing surface, debris, or vegetation. This may involve removing old paving stones, concrete, or other materials.
Excavation: Excavating the area to the required depth is crucial for a durable driveway. This typically involves digging down to 200-250mm, depending on the soil type and expected usage.
Step 2: Sub-Base Installation
Laying the Sub-Base: A firm sub-base is essential for the driveway’s longevity. Typically, a layer of crushed aggregate is spread and compacted to form a stable foundation. This layer should be around 150mm thick.
Compacting the Sub-Base: Using a roller or compactor, the sub-base is compacted to create a solid foundation. This step is vital to prevent any future subsidence or unevenness in the driveway.
Step 3: Edging and Drainage
Installing Edging: Edging materials, such as kerbstones or timber, are installed to define the boundaries of the driveway. These also provide support to the tarmac and prevent it from spreading.
Ensuring Proper Drainage: Effective drainage is essential to prevent water pooling on the driveway surface. This may involve installing drainage channels or ensuring the driveway has a slight gradient to direct water away from your home.
Step 4: Laying the Tarmac
Applying the Base Layer: The base layer of tarmac, known as the binder course, is laid first. This layer is usually 50-60mm thick and provides the driveway’s primary strength. The tarmac is spread evenly and then compacted using a roller.
Applying the Top Layer: The top layer, or wearing course, is used next. This layer is typically 25-40mm thick and provides a smooth, durable surface. Like the base layer, it is spread evenly and compacted to ensure a solid finish.
Step 5: Finishing Touches
Smoothing and Compacting: The entire driveway is given a final roll to ensure a smooth surface. This step is crucial to removing any minor imperfections and compacting the tarmac fully.
Curing Time: Once laid, the tarmac needs time to cure. To allow the surface to be set properly, it’s advisable to avoid parking vehicles on the driveway for at least 24-48 hours.
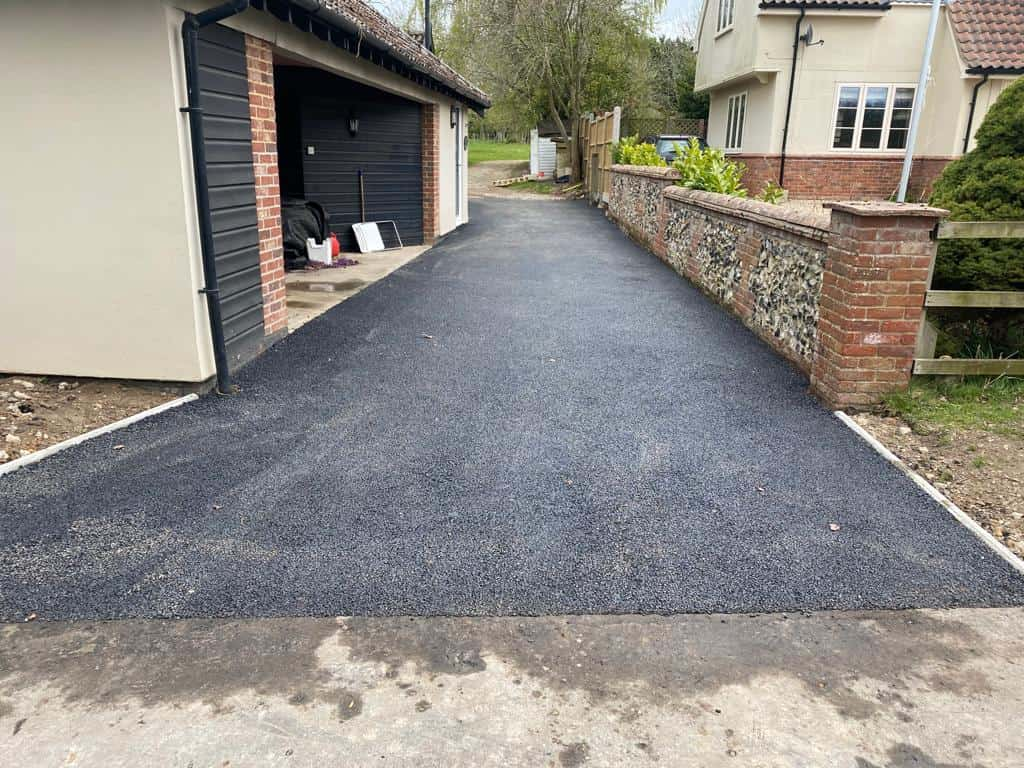
Adding Edging and Landscaping: To enhance the appearance of your new driveway, consider adding decorative edging or landscaping around the perimeter. This can include gravel borders, flower beds, or other features that complement your home’s exterior.
Step 6: Maintenance Tips
Regular Cleaning: Keep your tarmac driveway looking its best by regularly sweeping away debris and washing the surface. Avoid using harsh chemicals that can damage the tarmac.
Seal Coating: Every few years, consider applying a seal coat to protect the surface from UV damage, water infiltration, and wear. This can extend the life of your driveway and keep it looking new.
Repairing Cracks: Address any cracks or potholes as soon as they appear. Small cracks can be filled with a tarmac repair product, while larger areas may require professional attention.
Conclusion: Installing a tarmac driveway is a significant investment that can significantly improve your property’s curb appeal and functionality. By following this step-by-step guide, you can ensure a high-quality installation that will last for many years.
Call us on: 01908 103 697
Click here to find out more about Newport Pagnell Driveways & Patios
Click here to complete our contact form and see how we can help you with your driveway needs.